Remote unlocking a Raspberry Pi running Arch Linux with an encrypted root drive
Background
I purchased a Raspberry Pi in 2016 (version 3B v1.2) to use as a web server for serving the static HTML pages I render my journal into. With SSH local forwarding, I can view the HTML pages on other devices over SSH, which limits attack vectors.
I recently decided to reimage this system after having bootstrapped more knowledge of system management over the past several years. The beauty and horror of Linux is that there are multiple ways to do everything. I had already made most of the decisions based on what I had used in previous projects, so I had a particular list of requirements:
- Arch Linux. BTW I’ve used Arch on my desktop for almost ten years and wanted a consistent experience with that.
- 64-bit install. Not really any particular reason other than my Pi supports it. The Year 2038 problem is not an issue even on 32-bit versions of Linux since it now uses 64-bit integers for representing time.
- Encrypted root partition. I don’t really have a threat model and am not particularly worried about an Evil Maid attack, but this was something I had done with my desktop and it seemed like good practice to apply it here as well.
sd-encrypthook to unlock the root partition (as opposed to theencrypthook). The only functionality difference between these hooks to my knowledge is that thesd-encrypthook supports unlocking multiple partitions at boot. It may also be faster.
- Remote SSH unlock of the root partition. Another project I had previously done on my desktop, but more important on my Pi for convenience, since I run the Pi headless, and it would be a huge pain if I had to plug it into a monitor and keyboard after every upgrade-induced reboot.
mkinitcpio-systemd-toolto handle the tasks associated with remote unlocking (as opposed tomkinitcpio-*tools and theencryptsshhook). Usingsystemdis consistent with my use ofsd-encrypt(though mixing and matching shouldn’t be a problem in theory). FWIW,mkinitcpio-systemd-toolappears to have been largely abandoned by its original developer, though it still works for me and there appears to be some motion on evolving it into something that’s more supported.tinysshto unlock the root partition (as opposed to, e.g.dropbear).dropbearonly supports RSA keys, which appear to be going out of fashion, e.g. Github SSH instructions moved from RSA to ed25519. ed25519 is supported bytinyssh.
I succeeded in getting this system to run stably, and have not had any issues due to my setup over the past several months since I’ve done this.
I wrote the outline of this tutorial while working through the rather extensive process of getting this to work for my reference in case I need to do this again in the future after I’ve forgotten what I did.
This could save me hours of work: while the steps themselves are not that complicated to perform—I suspect I could redo this in under an hour, maybe even 30 minutes—I spent probably tens of hours debugging and investigating various issues that came up while I was following other tutorials and trying to piece them together to get what I wanted.
That is to say: this was a difficult project for me and this is not a tutorial for beginners; familiarity with the following concepts (from more common to most specific) will make debugging any issues that arise substantially easier:
- Using GNU/Linux utilities from a shell.
- SSH.
- Configuring a local network.
- Partitioning drives.
- Booting from an encrypted root partition.
- Remote unlocking an encrypted root partition over SSH.
I wrote this tutorial for myself, so it’s structured in a way that I understand: I gloss over some of the details—like configuring sshd—and reference several other tutorials that I used while going through this process with only minor notes about different steps that I took.
I’m still publishing this because I think anyone with a decent level of technical sophistication should be able to follow it. With those disclaimers, good luck, and I hope this might save you some time.
Instructions
Partitioning and initial installation
The instructions in this tutorial, which in turn rely on the official Raspberry Pi 3 installation instructions, are pretty good, but some comments:
- Use a larger partition size for the boot partition. I initially used 200M and ran out of space and had to start over. 500M should be plenty.
-
For the root partition, set up a LUKS volume in this way (from this other tutorial). Setting up LUKS in the default way uses the argon2i algorithm / encryption scheme, which the Raspberry Pi does not have enough memory to run (see this StackOverflow post.
# cryptsetup luksFormat -c aes-xts-plain64 -s 512 -h sha512 --use-random -i 1000 /dev/sdXnReplace
/dev/sdXnwith the appropriate device and partition. - I also used the 64-bit installation as this tutorial does. The installation process is identical to the 32-bit installation—it just uses a different image, as also pointed out by the official installation instructions.
Stop following the instructions once it starts talking about the QEMU chroot.
Accessing the mounted SD card
The instructions for accessing the mounted SD card via QEMU provided by this tutorial didn’t work for me.
The Arch wiki provided some instructions that did.
Specifically, I had to install qemu-user-static and qemu-user-static-binfmt.
I used
# systemd-nspawn -D /mnt/sdcard -M sdcard
which provides a root shell into the new environment.
chroot environment tasks
Get network and pacman working
pacman will not work at all in this environment due to the fact that network doesn’t work. rm /etc/resolv.conf (removes a symlink) and then add nameserver 192.168.0.1 (or whatever an appropriate DNS address is) to it.
Now initialize pacman and update:
# pacman-key --init && pacman-key --populate archlinuxarm
# pacman -Syu
The update will probably trigger a rebuild of mkinitcpio, which takes FOREVER.
Now, some helpful tools:
# pacman -S sudo uboot-tools cryptsetup
Optionally a text editor is helpful as well.
Set up boot for unlocking encrypted root partition
mkinitcpio
I prefer using sd-encrypt, and I copied the hooks verbatim from the Arch Wiki.
HOOKS=(base systemd autodetect modconf kms keyboard sd-vconsole block sd-encrypt filesystems fsck)
Bootloader
We also need to edit the bootloader. 32-bit Arch Linux ARM uses /boot/cmdline.txt, but 64-bit Arch Linux ARM uses Das U-boot, which is configured in /boot/boot.txt:
Add the appropriate kernel parameters here, e.g. for sd-encrypt:
rd.luks.name=UUID=632923a5-2c9a-44dd-ab1c-73ff1c40b93e=cryptroot root=/dev/mapper/cryptroot
fstab
/etc/fstab also needs to be told about the encrypted drive.
/dev/mapper/cryptroot / ext4 defaults,noatime 0 1
It should already have the boot partition listed under /boot.
Finish up in the chroot environment
Exit with exit: unmount everything (see Tips and Tricks; and close the decrypted volume.
Boot
The first time I unlocked the encrypted root, I had to type my password twice for some reason, but it unlocked successfully.
Complete the typical Arch-recommended system configuration tasks. These could also have been done in the chroot environment, which would probably be more convenient. I did them post-successful boot because I had to make several tweaks, which required starting over at least twice, so the extra work wasn’t worth it to me until I knew I had a system that would boot.
Create a new user and add them to sudo so you no longer have to use root:
# useradd -m karepker
# passwd karepker
# groupadd sudo
# gpasswd -a karepker sudo
Uncomment the %sudo … line in the /etc/sudoers file to allow members of the sudo group to run sudo commands:
# visudo
Network
systemd-network was already running by default. I configured it to use a static IP address. In /etc/systemd/network/enu1u1.network:
[Match]
Name=enu1u1

[Network]
Address=192.168.X.Y/24
Gateway=192.168.X.Z
DNS=192.168.X.Z
DNSSEC=no
Replace X, Y, and Z and the interface name with appropriate values.
sshd
The ssh daemon was already running by default. After logging in with my created user and copying the keys from my clients into the daemon, I removed root login and disabled password-based authentication.
Remote access
The key decision here is choosing how to remotely decrypt the root filesystem. I prefer using mkinitcpio-systemd-tool for its modularity and consistency with other boot tasks.
I followed this tutorial, with a few changes:
-
Modules in
mkinitcpioneed to be different for the Raspberry Pi. Using the list from this tutorial:MODULES=(g_cdc usb_f_acm usb_f_ecm smsc95xx g_ether) -
SSH keys must be copied manually over to root:
# cp ~/.ssh/authorized_keys /root/.ssh
Tips and Tricks
I found this one-liner useful for decrypting and mounting my SD card when chrooting (get the appropriate device from blkid and modify partitions as appropriate):
$ sudo cryptsetup open /dev/sdc2 sdroot && sudo mount /dev/mapper/sdroot /mnt/sdcard && sudo mount /dev/sdc1 /mnt/sdcard/boot
And equivalently for unmounting and closing the chrooted encrypted volume:
$ sudo umount -R /mnt/sdcard/ && sudo cryptsetup close sdroot
Issues
Why did this project take tens of hours? Because I routinely messed stuff up. Here’s a list of the problems that I had to debug and some resolutions:
- QEMU as used in this tutorial would not work. I followed the wiki directions on
chrooting with QEMU which did. - Can’t mount
/etc/resolv.confasrolike the wiki says because thenpacmancomplains that there’s not enough free space. - No network access initially with
nspawn: Remove/etc/resolv.confand addnameserver 192.168.0.1. - Needed to install
arch-install-scriptsforgenfstabandarch-chroot. - Kernel parameters for encrypted root drive not picked up because I put them in
/boot/cmdline.txt. The 64-bit install uses Das U-Boot, which reads from/boot/boot.txt. - Used the kernel parameter configuration for the
encrypthook in the boot configuration instead of thesd-encryptparameters (rd.luks.name). -
By default, LUKS uses an encryption algorithm that requires too much memory. Change it to use a less memory intensive algorithm as suggested in that link. I overwrote the key with:
# cryptsetup luksChangeKey -S 0 --pdkdf pbkdf2 /dev/sdXnThis issue is essentially impossible to debug when using the
sd-encryptmkinitcpiohook, because it logs the details into the journal, which cannot be accessed without decrypting the root filesystem. Even the emergency shell that appears also does not work to access the logs. In fact, I couldn’t even get to the emergency shell: I kept getting a message saying that the root account was locked. In this case, theencryptmkinitcpiohook is actually better because it logs directly to the output. The message it gave me helped me figure out that I needed to switch the encryption algorithm on my encrypted root partition. -
Boot issues: I would lose display output at some point during boot and sometimes get a stack trace.
I never ended up resolving this, but learned that despite the fact that I didn’t have display output, I was still able to get to the LUKS decrypt stage over SSH, decrypt the root partition, and then log in after the system booted successfully (display output also came back after decrypting the root partition). Since I intended to use my system in headless mode anyway, I didn’t investigate this further.
This took quite a while to debug because I didn’t realize the system would boot until the root partition needed to be decrypted: I thought the system was broken in a more fundamental way during the boot process. I eventually realized that I could decrypt the root partition and log in after I tried SSH’ing in after this happened.
Further complicating things was the fact that I would only lose display output after running
mkinitcpio -Pon the Raspberry Pi itself, not in thechrootenvironment. This made debugging tedious, because I constantly was transferring my SD card between my desktop and the Raspberry Pi and runningmkinitcpio -P(which is very slow on the SD card!) in different contexts.The only lead I have on this is that I would consistently lose display output after seeing the line
fb0: switching to vc4 from simpleat boot.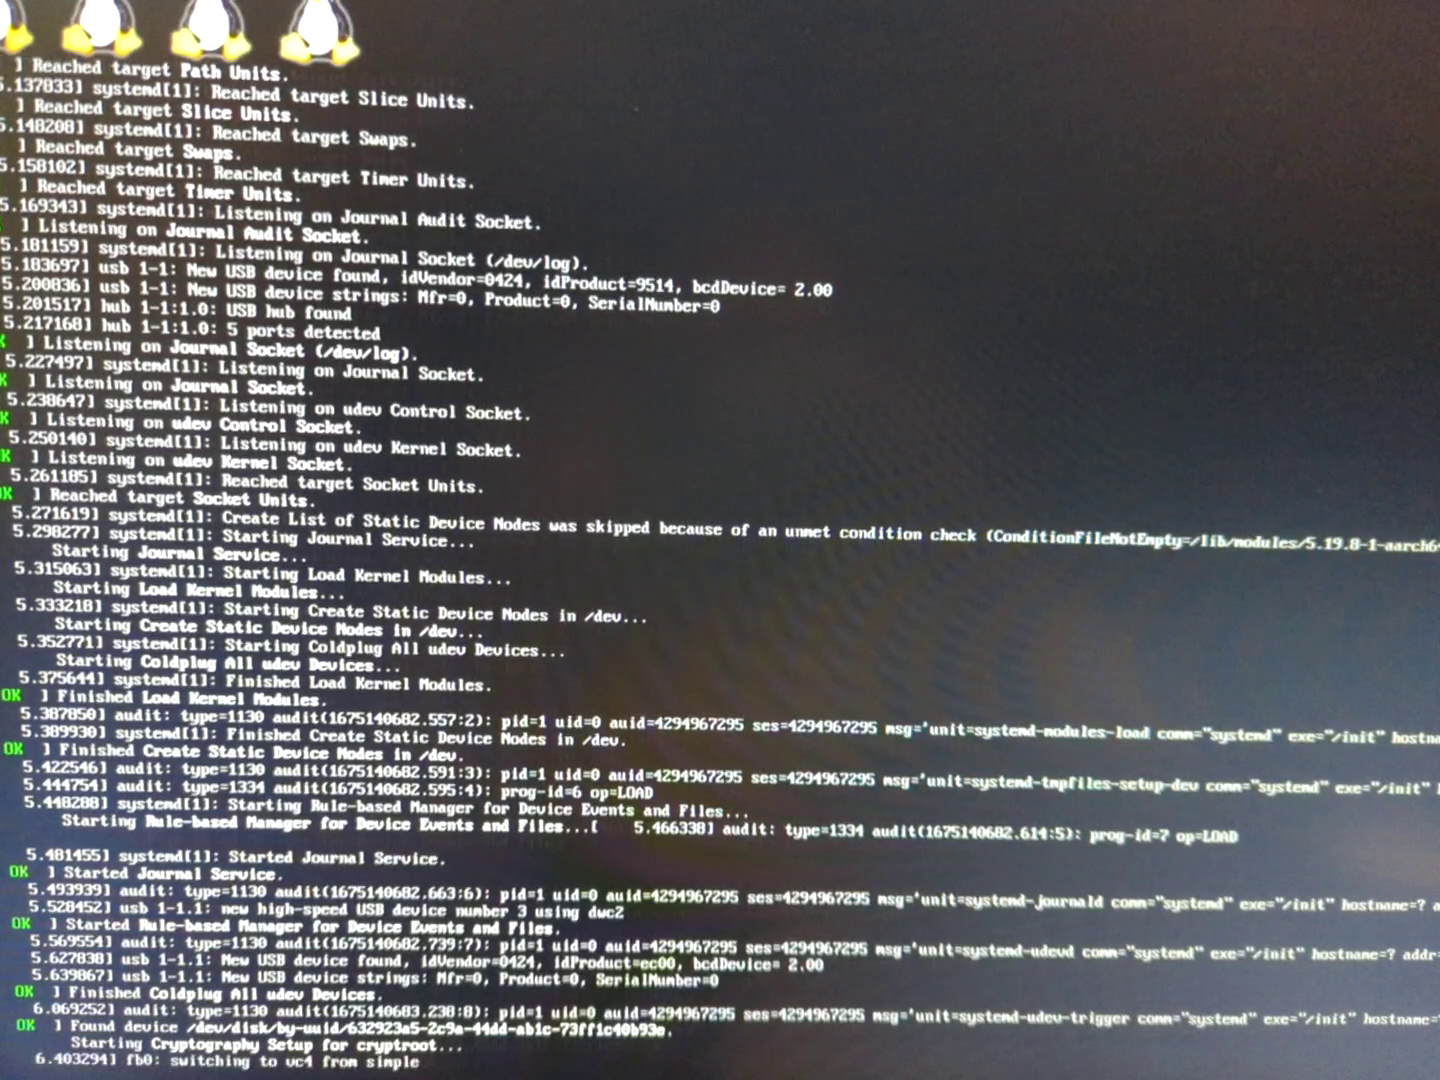
Not my fault
- Failure to boot at all (stuck on rainbow screen). This happened a couple months after my initial installation work and was due to a separate bug affecting all Arch Linux ARM Raspberry Pi 3B users.
